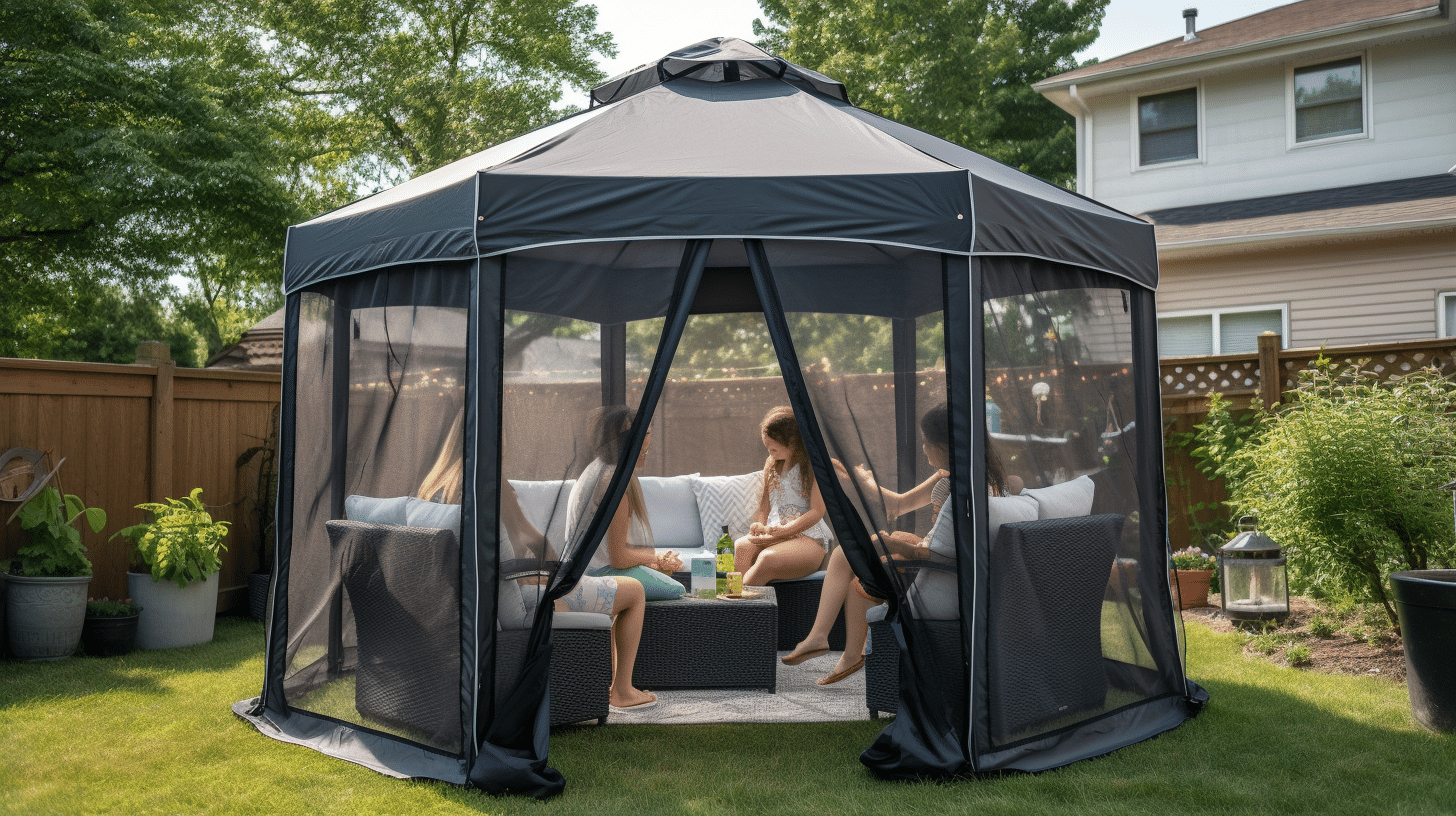
Hello everyone, I’m here to talk about how to make a gazebo roof cap. It’s a great way to give your garden or patio area an extra touch of style and protection from the elements. In this article, I’ll be discussing polycarbonate options, metal alternatives, DIY solutions, pitch requirements, felt layer considerations, pop-up types and replacement canopies. So if you’re looking for some guidance on how to make the perfect gazebo roof cap then read on!
I’ll also be giving tips on how to maintain your roof cap and what materials are best suited for different climates. With a bit of research and effort you should end up with a durable and attractive covering for your outdoor space that will last for many years to come. So let’s get started!
Key Takeaways
- The materials used for gazebo roofs include polycarbonate and aluminum, with DIY solutions using polycarbonate being affordable and easy to construct.
- Pitch requirements for the roof vary based on the materials and weather conditions, with thicker materials requiring less slope than thinner ones.
- To ensure protection and insulation, adding a felt layer, using polyester for waterproofing, or tar paper for extreme weather is recommended.
- When designing a roof cap, all angles should be measured correctly, and the chosen option should be securely fastened to prevent it from blowing away.
Polycarbonate Options
Polycarbonate is the perfect material for a gazebo roof cap, offering strength and durability that won’t let you down. This revolutionary material has been around since 1953 and is used for many different applications including roofing. The construction of a polycarbonate gazebo roof requires posts, screws, paper, layers of the polycarbonate sheets, and ridge caps to form the structure. Constructing such a roof is easier than most other types of roofing due to its lightweight yet strong nature.
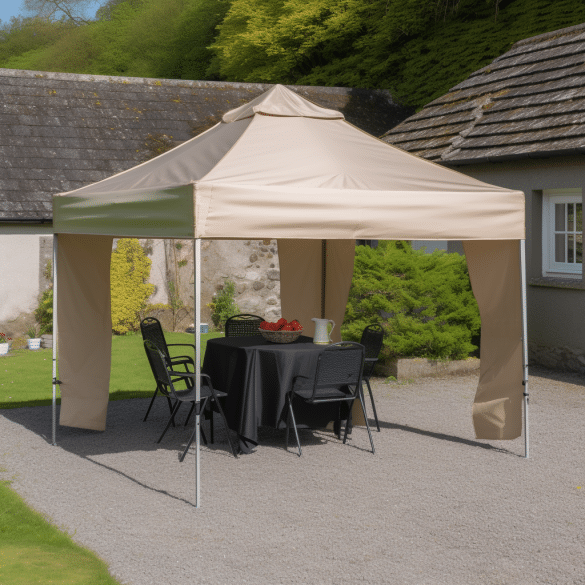
The main advantage to using polycarbonate for your gazebo roof is its unique combination of strength and flexibility. Polycarbonate can withstand high winds or snowfall without being damaged or disfigured in any way. Additionally it does not require any additional maintenance apart from cleaning with soap and water which makes it an ideal choice for anyone looking to keep their outdoor area looking great all year round!
The only downside to using polycarbonate on your gazebo roof is the cost which can be quite steep compared to other materials like metal or wood. However when you consider how long lasting this material will be when properly installed it becomes clear that this investment will pay off in the long run as you won’t have to worry about replacing your roofs anytime soon! Overall, polycarbonate provides a solid solution for anyone seeking protection from rain or sun while still maintaining style in their outdoor space.
Metal Alternatives
If you’re looking for an alternative to metal, aluminium is a great choice and can support up to 2.5 times more weight than steel – impressive! Building a gazebo roof cap with aluminium has its advantages; it is waterproof, lightweight and long lasting. It’s also easier to work with than other metals and doesn’t require the same level of maintenance as steel. Here’s a few steps to follow when constructing an aluminium gazebo roof cap:
- Start by installing a base layer of fabric or asphalt shingle material so that the metal roof won’t be exposed directly to water or heavy rains.
- Use joists and ridge caps along the king post area of your gazebo frame, then cover them with layers of shingles for additional waterproof protection.
- Finally, install your aluminium sheets on top and fasten them securely into place using screws or nails according to manufacturer instructions.
Aluminium roofs are ideal for outdoor settings as they provide extra protection from weather elements but still allow light in through their matte finish which makes them visually appealing too! In addition, they offer affordability in comparison to other roofing materials, making them an appealing choice for individuals seeking a cost-effective solution when constructing their gazebo roof cap.
DIY Solutions
DIY projects are a great way to add style and value to your outdoor spaces, and polycarbonate is an ideal material for making such projects easier and more affordable. Gazebo roof caps are no exception; they can be easily created with the use of polycarbonate material.
| Weather Resistance | Deck Height |
|---|---|
| High | 4ft – 8ft |
| Low | 2ft – 6ft |
The first step in creating a gazebo roof cap is to construct the roof frame, which should be made from strong, weather-resistant wood or metal. You will then need to attach the roof panels, which come in a variety of materials including asphalt shingles, water-resistant outdoor fabric and even metal sheeting. Once you have installed the roof panels, you should then secure them with galvanised screws into the rim joists. Finally, you must ensure that the deck height of your gazebo is within the recommended range (4ft – 8ft). By following these steps closely, you’ll have your own custom designed gazebo roof cap in no time!
Creating a DIY gazebo roof cap not only adds style and value to your outdoor space but also provides protection against varying weather conditions. Polycarbonate is an especially versatile material which makes it easy for homeowners to achieve their desired look without having to compromise on quality or functionality. By carefully considering factors such as weather resistance, deck height requirements and ensuring proper installation of materials, anyone can successfully create a custom-designed gazebo roof cap for their backyard oasis!
Pitch Requirements
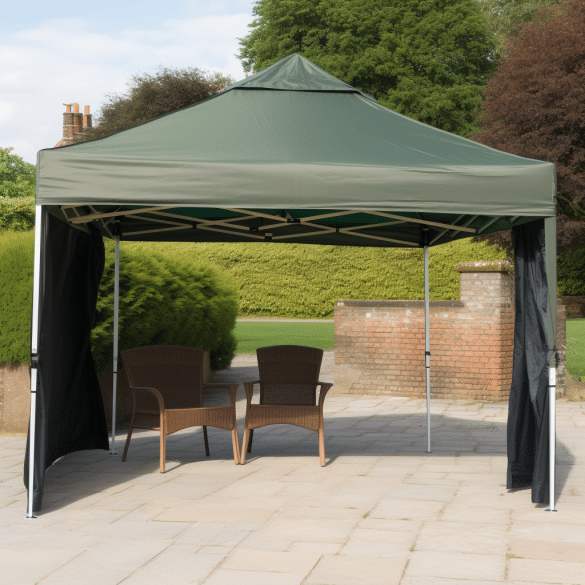
You’ll need to consider the pitch requirements when creating your outdoor project, as different materials require differing slopes for optimum weather protection. Generally speaking, the steeper the roof pitch you choose, the better it will be at shedding rain or snow off of your garden gazebo. The minimum pitch for a flat roof is 1/4 inch per foot, while hip rafters and roof rafters in square roofs often require up to 12 inches of rise per foot. When building a gazebo with corner posts that are meant to shed water like a spout from each corner, you should use an 8-inch rise per foot. This ensures that there is enough slope on the roof so that any square of water created by rainfall does not settle onto one spot and cause leakage.
The materials used also play an important role in determining what kind of pitch you should have on your gazebo’s roof cap. Thicker materials tend to require less slope than thinner ones do because they can hold more weight from water accumulation before leaking through. For example, asphalt shingles will typically start leaking if they’re installed at too low of a pitch; however, metal panels or tiles may only need 4 inches of rise per foot in order to remain waterproof.
When designing your outdoor project’s roof cap, make sure that all angles are measured correctly and take into account any anticipated changes in weather conditions over time. If possible, add extra protection with protective coatings or additional layers of material such as underlayment on steep pitches where heavy rains are expected. With careful consideration and proper installation techniques, you can ensure that your garden gazebo remains dry and comfortable no matter how bad the weather gets!
Felt Layer Considerations
Adding a felt layer to your outdoor project can help protect it from the elements, as well as add an extra layer of insulation and soundproofing. When making the roof cap for your gazebo, you’ll need to use a sheet of tar paper or polyester that is weather-resistant. Start by nailing the upper joists and ceiling joists with toenailed screws into the middle post, then lay down your chosen material. The overlapped layers will give added durability and protection from wind and rain. Finally, finish off with a layer of shingles for extra security against outside elements.
In order to ensure that your felt layer does its job properly, it’s important that you choose one which is suited to the environment in which you are building your gazebo roof cap. Polyester is a great choice for its waterproof properties and long-lasting performance but if you live in an area which experiences more extreme weather conditions such as hail storms or high winds then tar paper might be best instead due to its increased strength. Once decided upon, make sure all seams are sealed tightly so no water can seep through any cracks or crevices between each sheet of material used on your roof cap.
Creating an effective felt layer for a gazebo roof cap requires careful consideration of both materials used and installation methods employed – getting this right will provide better protection from outside elements while also preserving the longevity of your outdoor project overall. With some thought put into it though there should be no issue creating a sturdy felt layer that will keep you sheltered throughout many years ahead!
Pop-Up Types
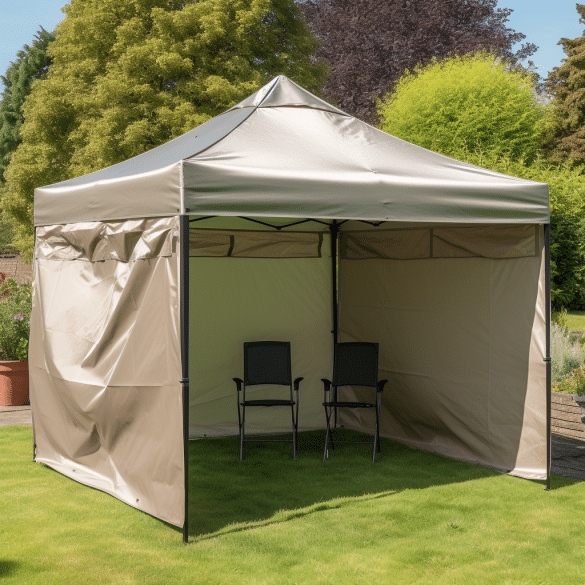
Pop-up gazebos come in a variety of styles and sizes, making them ideal for creating an outdoor living space that can be quickly set up and taken down. For example, if you’re planning a picnic with family or friends, having a pop-up gazebo on hand to provide quick shelter from the sun can make all the difference in having an enjoyable day outdoors! One of the considerations when choosing a pop-up gazebo is what type of roof cap to use. A common choice is heavyduty outdoor fabric which covers any holes in the roof. It can also be used to cover the rafter tails at each corner and along either side of the frame. Another option is to construct a wooden frame that fits snugly over the top of your structure. This will require cutting pieces of lumber to fit exactly over your range and then attaching them together with screws or nails. A third choice would be to create a custom designed roof cap by using larger pieces of lumber cut into shape and attached onto your wooden frame. This will require some carpentry skills but it could create an attractive finish for your gazebo. Whichever type you choose, make sure it’s securely fastened so it won’t blow away in strong winds!
Replacement Canopies
If you’re looking for extra shade, you can easily replace your existing canopy with a new one. There are a few options available:
- Gazebo canopies made from durable polyester fabric
- Gazebo replacement canopies with a water-resistant coating
- Canvas gazebo covers that are fade-resistant
- Heavy-duty vinyl gazebo roof cap replacements.
Whichever type you choose, make sure it’s properly sized for your gazebo to ensure the best fit and coverage. To determine the size of your canopy, carefully measure both the width and height of the roof beams on your structure. When purchasing a replacement cover, be sure to look for one that is UV-protected and waterproof to ensure it will last in all weather conditions without fading or tearing. Additionally, consider investing in additional accessories such as straps or cords to secure it in place against windy days or harsh storms.
Replacing an old gazebo canopy is quick and easy if you have the right measurements and pick out something sturdy enough to withstand whatever Mother Nature throws at it. With just a bit of research, you’ll be able to find something perfect that will provide plenty of shelter for years to come!
Frequently Asked Questions
What type of tools are needed to install a gazebo roof cap?
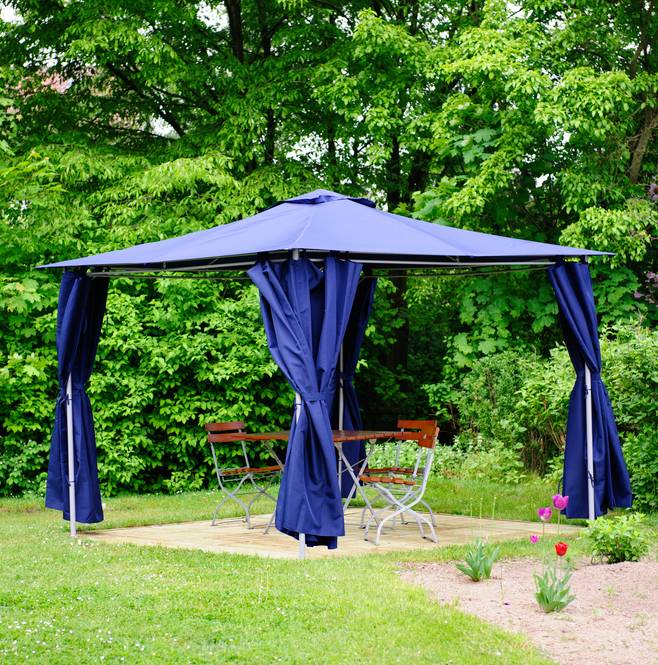
Installing a gazebo roof cap doesn’t have to be a difficult task – all you need are some basic tools. You’ll need an electric drill, a screwdriver, and some screws of the right size. Of course these tools can easily be found in any local hardware store. And if you don’t have much experience with DIY projects, don’t worry – I’m sure there are plenty of tutorials online that can help you out!
How long does it take to install a gazebo roof cap?
Installing a gazebo roof cap can take from 2-4 hours, depending on the size of the gazebo and the skill level of the installer. It’s generally an easy job for anyone with basic DIY skills, but it pays to take your time and make sure everything is done properly. As long as you have all the necessary tools, it should be a straightforward job.
Are there any special considerations for different climates when installing a gazebo roof cap?
Yes, there are certain considerations for different climates when installing a gazebo roof cap. For instance, in hotter climates you may want to consider using breathable materials such as canvas or lighter-colored metal which will help keep the interior of the gazebo cooler. On the other hand, if you live in an area with colder temperatures it’s important to opt for thicker material such as wood or metal that can help protect from wind and rain. Furthermore, an interesting statistic is that in some cases installing a gazebo roof cap can take up to two days depending on size and complexity – so it pays to plan ahead!
Are there any safety precautions to consider when installing a gazebo roof cap?
When installing a gazebo roof cap, it’s important to take safety precautions for both you and those around you. When handling any kind of power tools or building materials, wear protective gear such as goggles or gloves. Make sure that the area is free from children and animals to avoid accidents. Be mindful of any overhead wires when positioning ladders and when working on higher levels. Finally, always double check that all screws and bolts are securely tightened before leaving the workspace.
Conclusion
Having gone through the different types of gazebo roof caps, I’ve come to the conclusion that the best choice depends on your needs. Whether it’s a polycarbonate option for a sturdier construction or metal alternative for lightweight protection, there are plenty of solutions available. DIYers can also build their own with pitch requirements and felt layer considerations in mind. For those looking for convenience, pop-up types or replacement canopies provide easy solutions. Ultimately, you’ll need to choose the one that works best for you!

