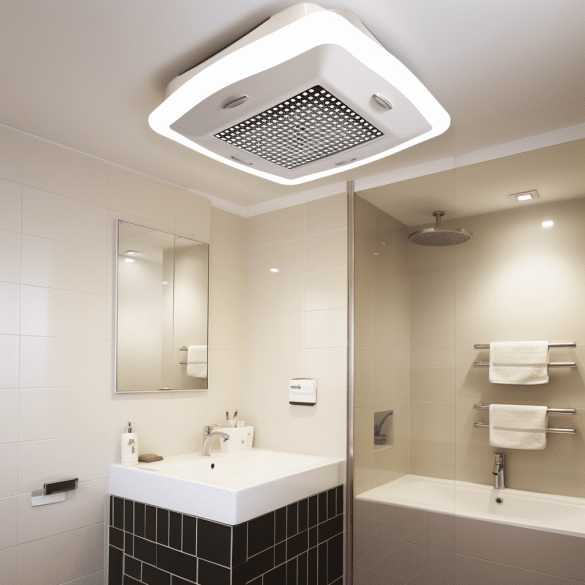
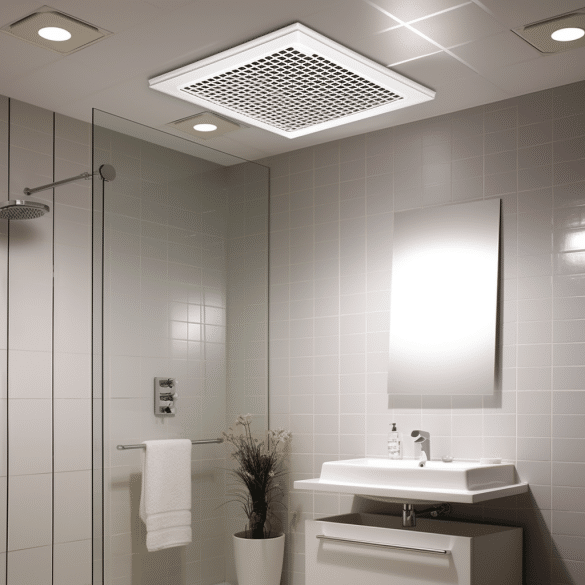
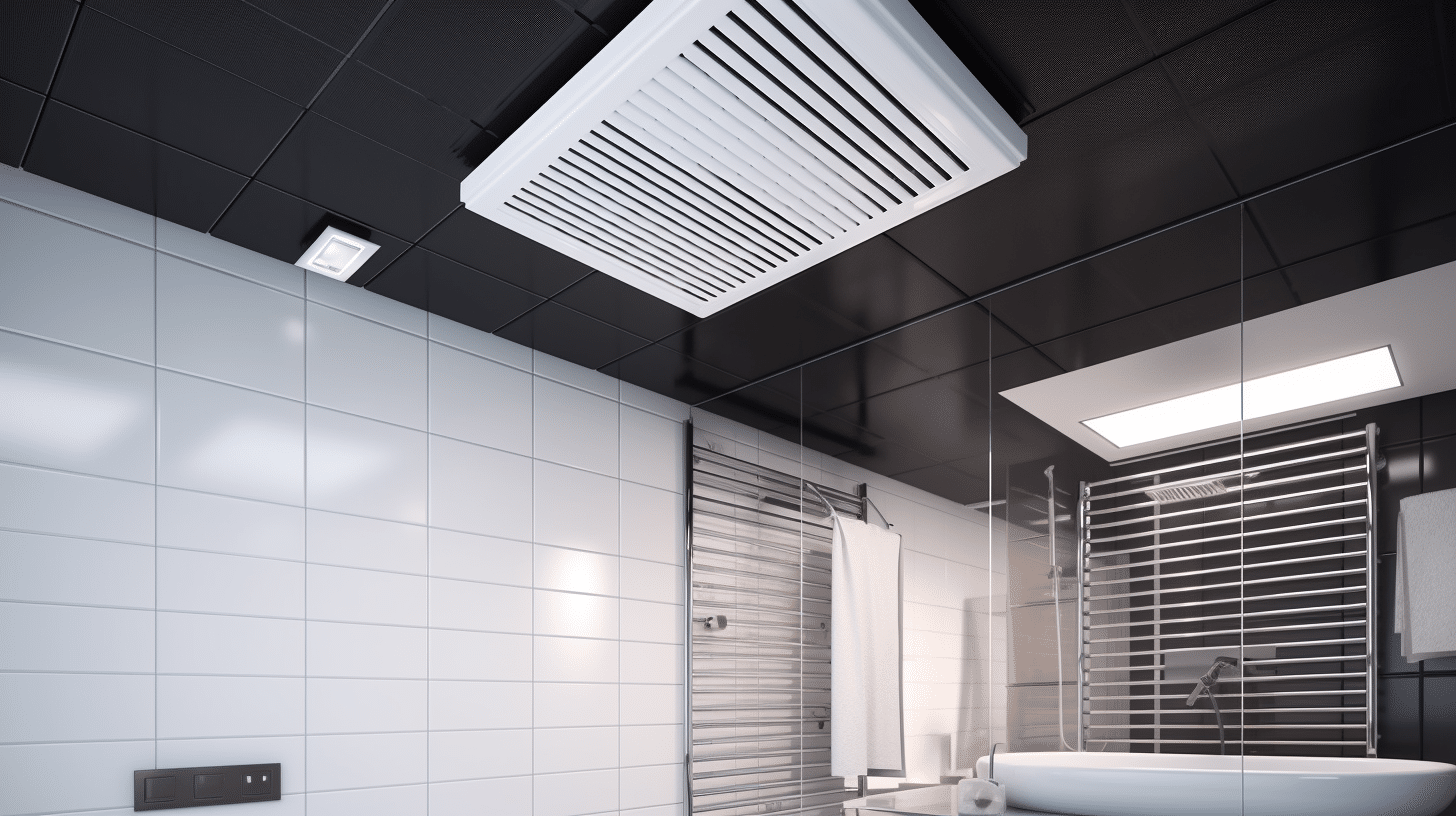
Removing a bathroom ceiling heater can seem like a daunting task, but it doesn’t have to be. With the steps outlined below and some basic knowledge of home improvement, you can easily take down your old unit and install a new one in no time. In this article, I’ll provide detailed instructions on how to safely remove an existing bathroom ceiling heater from your home. With these simple steps, you’ll soon be enjoying the warmth of your new appliance!
Key Takeaways
- Turn off power and gather necessary products
- Remove cover of ceiling fixture and check components for wear and tear
- Ensure secure wiring connections and double-check connections before powering up
- Regularly clean exterior of unit, vacuum around grilles and vents, and inspect electrical connections for security and corrosion
Turn Off Power
Before beginning any work, ensure that you turn off the power to your bathroom ceiling heater – it’s a simple but vitally important step! You may have more than one source of power supplying the fan housing. If so, you must disconnect them all in order to remove the heater safely and avoid electric shock. This includes any clips or connections to the bathroom light and/or bathroom vent fans if they share ducts or fan covers with your heater.
Gather all the necessary products for replacing your ceiling heater first, including a bracket and new motor if applicable. Depending on which type of heating element you have, additional items include screwdrivers, pliers, electrical tape or wire nuts to secure wiring connections. Make sure you have something safe to place under the heater while you’re working on it so as not to damage other surfaces in your bathroom.

Carefully unscrew each bolt from its mounting bracket until it is free from the ceiling joists and can be removed safely from its overhead location. Disconnect any wiring that may be attached to it before setting aside for disposal or recycling according to local regulations.
With this final step complete, you can now begin installing your replacement bathroom ceiling heater without worry of danger or injury!
Remove Cover
Unscrew the cover of your ceiling fixture and take it down, keeping in mind that most bathroom heaters are typically powered by 1500 watts. To ensure safety when removing the cover, make sure to switch off power from the circuit breaker or unplugging it. After you have done this, here are some elements that you need to consider:
- Bathroom Fan: It is important to note that a bathroom fan should be powerful enough to provide sufficient airflow for ventilation within the room. Consider checking if yours has metal brackets on either side which could indicate a more powerful model.
- Exhaust Fan Cover: The exhaust fan cover may come in different colors and shapes depending on the brand and type of heater you purchased. Some exhaust covers are made of plastic while others can be made of metal depending on the installation requirements. If there is moisture build-up around the housing, consider getting an additional ventilated fan housing with adequate air ventilation features.
Before starting any work, make sure all wires connected to your ceiling heater are secure and not frayed or exposed due to age or wear and tear. Additionally, check if they are properly connected as disconnecting them without proper care might damage them permanently. Finally, keep in mind that before reinstalling the new cover after replacing your old one, always double-check all connections for safety reasons!
Unfasten Metal Housing
Gently unlock the metal housing and take a look inside to ensure that all components are in place. Before beginning, it is important to shut off the power to the bathroom ceiling heater at the main breaker panel. This will keep you safe from any potential hazards while removing the metal housing from its installation cover. Carefully remove any screws or clips that secure the Broan vent fan housing in place and slowly lift it away from the wall/ceiling junction. Make sure not to block airflow as this may cause further issues when reinstalling your new Panasonic solution.
Once you have removed the metal housing, you should be able to access and analyze all components of your bathroom ceiling heater such as motor, wiring, etc.. It is especially important to check for wear and tear on the brushless motor as this could affect your Panasonic solution’s performance. If there are any signs of damage or deterioration, it is recommended that you replace it before continuing with installation steps. Additionally, if possible try to reach into your attic space for better inspection of wiring connections or other crucial components located behind walls/ceilings.
Don’t forget that once you’ve finished inspecting all components of your bathroom ceiling heater, you can begin reassembling them in reverse order according to manufacturer instructions. Be sure to check all connections before powering up again; improper wiring may lead to safety issues down the road! Taking extra precaution during installation will help ensure a successful project and optimal performance for many years ahead!
Disconnect Duct and Wiring

Carefully disconnect the duct and wiring from the metal housing, ensuring all components are properly disconnected for safe removal. To begin, turn off the power to the fan with heater or fan with LED light at the main electrical panel.
Unscrew any wire nuts connecting electrical cables to the thermostat that is built into the wall. If there is excess moisture present in your bathroom, you may need to shut off water supply valves connected to it as well.
Next, remove any screws holding the metal housing in place and gently pull away from ceiling hole where it was installed. Make sure to note how many cubic feet of air per minute (cfm) and square feet of heating coverage (sq ft) your model provides before disposing of it, as this information will be needed when replacing with a new unit.
Finally, use caution when working with electrical wiring and take appropriate safety measures when handling old wires or installing new ones. Be sure to keep track of which wires connect where so that they can be reconnected correctly during installation of a replacement unit.
Install Replacement Unit
Now that you have removed the old unit, it’s time to install your new heater or fan with LED light! Before beginning the installation process, make sure that you have all of the necessary components including a bathroom exhaust fan/heater combo, cloth construction tape, and screws. It is also important to look at the CFM rating on the back of the unit and compare it to your existing setup. This will help ensure that you are getting an appropriate amount of ventilation for your bathroom space.
Once these steps are completed, begin by mounting the exhaust fan/heater combination onto your ceiling. Make sure that all four screws fit securely in their respective holes and that they are fastened tightly into place. Next, connect a cloth construction tape around each screw head as this will prevent any air from escaping through small gaps created by loose screws.
Finally, attach flexible ducting to both sides of the exhaust fan/heater combo and run it along your ceiling until reaching its destination point near an outdoor vent or another area designated for air release. The key here is making sure that all connections line up properly and are sealed tight so no air can escape while in operation mode. Once connected, plug in the device and test out its functionality before completing installation.
Clean and Maintain
To ensure optimal performance and longevity of your new exhaust fan/heater combo, it’s essential to keep it clean and well-maintained. Regular cleaning will help the unit run more efficiently and reduce the need for costly repairs in the future. Here are a few steps you can take to maintain your ceiling heater:
- Clean the exterior of the unit with a damp cloth regularly.
- Vacuum around grilles and vents at least once per month or more frequently if needed.
- Check for debris accumulation on air intakes and remove as necessary.
- Inspect electrical connections occasionally to make sure they are secure and not loose or corroded.
Regular maintenance is important to prevent dust buildup, which can cause motor failure or other malfunctions over time due to poor air circulation. It’s also important to check your installation manual periodically for any updates regarding safety issues or recalls related to your specific model of ceiling heater. In some cases, you may even be able to sign up for emails from the manufacturer that alert you when maintenance is required or when there are particular safety concerns related to your product.
Taking good care of your bathroom ceiling heater will help ensure the best performance possible, so make sure that you follow these simple steps regularly as part of its routine maintenance schedule :
Conclusion
I have successfully removed the bathroom ceiling heater. It was a daunting task, but I conquered it with ease! The job went much faster than I expected, and now my bathroom looks brighter and more inviting. Everything is running smoothly now, but it’s important to remember to clean and maintain the unit regularly in order to keep it in top condition. All in all, this has been an amazing experience that will stay with me for years to come.

